Winter, a chance to get ahead.
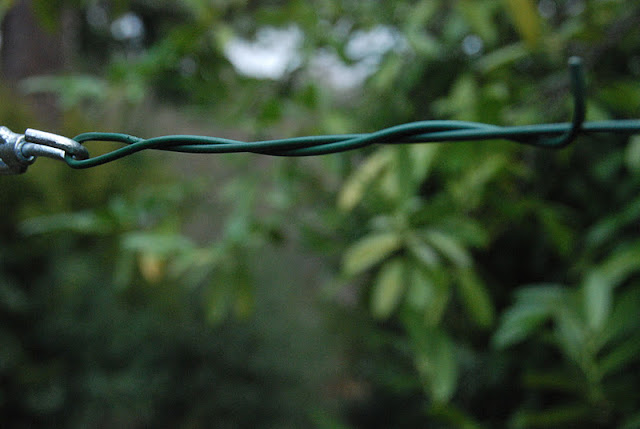
Unravel your wire. It was in a tight , neat coil; until I undid the ties that bound it! The other 2 rows have been constructed using a thin steel wire, which was much better behaved than this thicker, stiffer plastic coated stuff. Run the wire through the eyelets that you've nailed/screwed into your supporting posts.
Take a TURN BUCKLE (get them in BRUTONS for very little money).
Fully unscrew each end of your turn buckle.
Spiral the free end of wire along your run of wire to secure it. Attach the other end of the wire to an eyelet on the far supporting post. Before finally securing at the far end, pull the wire as tight as you possibly can. In order to get out as many kinks as possible, you may have to walk the length of your new wire, stretching it as you go, repeatedly. Gloves are a help for this.
Return to your turn buckle and turn the central section (2 pictures up, it's the part between my finger and thumb), this will screw in both the hook and eye parts at the same time, tightening your new wire as it does so. Stop turning when your wire is tight enough and definitely before your support posts are pulled over!
CLEVER HUH?
At last it was the time for pruning and tying in my little branches. This is a second layer branch from last summer. Next year this little branch will produce an apple or two.
HAPPY GARDENER.


No comments:
Post a Comment
I love hearing from you, so please feel free to leave your comments here as often as you fancy. I will read what you leave for me and may even post it here for everyone to enjoy. As I can't alter anything you write, please don't use my first name as I want to maintain my privacy. Ta.